
第一个React Native App
这几天在学习React Native,觉得很屌,做了个"Hello World",拿出来和大家分享下
先说环境搭建把,大致可分为下面几步:
1.首先必备一台Mac
2.然后在App store上下载最新的Xcode
3.Nodejs安装,可以去NodeJs官网下载安装包安装
4.Node也可采用homebrew安装,没有的自行百度,brew安装完成就可以在terminal中运行'brew install node',改命令执行完成就自动安装了node和npm包管理器
5.安装watchman,一个来自Facebook 的观察程序,终端命令:'brew install watchman'
6也可以有选择的安装flow
到这里环境大致安装完成,下面我们开始安装react-native命令行工具,执行’sudo npm install -g react-native-cli’,输入密码等待安装完成,我们就可以在命令行用’react-native init ’ + 项目名创建一个React Native项目,由于某些原因,初始化过程可能会比较慢,耐心等待几个,这里我创建一个项目,完成一个输入框,在输入完成,请求Github提供的api接口,过滤出符合搜索关键字的项目。
1、首先,我在命令行运行’react-native init githubFinder’,经过漫长等待,项目创建完成,到项目目录下,打开ios目录,打开githubFinder.xcodeproj,就可以在Xcode中打开ios版本的项目了,然后打开index.ios.js文件,编写相关逻辑。
"use strict";

var React = require("react-native");
var baseURI = "https://api.github.com/search/repositories?q=";
//  请求参数的url前缀

var {
  AppRegistry,
  Image,
  ListView,
  StyleSheet,
  Text,
  TextInput,
  View,
} = React;
//  注入相关组件到React中

var githubFinder = React.createClass({
  /**
    定义组件初始状态值,也就是一个对象
  */
  "getInitialState":function(){
    return {
      "dataSource":new ListView.DataSource({
        "rowHasChanged":(r1,r2) => r1 !== r2
      })
    };
  },

  /**
    render方法,根据不同的情况渲染页面
  */
  "render":function(){
    var len = this.state.dataSource.getRowCount();
    //  取得当前结果集的长度并且暂存

    var content = len === 0 ?
    <Text style={styles.blanktext}>
      please enter some thing to search...
    </Text
    //  如果长度为0,content一段提示文字
    :
    <ListView
      ref="listview"
      dataSource={this.state.dataSource}
      renderRow={this.renderRow}
      automaticallyAdjustContentInsets = {false}
      keyboardDismissMode="on-drag"
      keyboardShouldPersisiTaps={true}
      showVerticalIndicatpr={false}
       />;
   //  否则返回一个LisView组件,content会根据数据来渲染结果列表

       return (
         <View style={styles.container}>
            <TextInput
              autoCapitalize="none"
              autoCorrect={false}
              placeholder="enter your keywords"
              onEndEditing={this.onSearchChange}
              style={styles.searchBarInput}
            />
        //  在刚才的content上面加入一个输入框框组件,在输入过程中,就调用"onSearchChange"方法

            {content}
        //  渲染刚才存储的content
         </View>
       );
  },

  /**
    在输入过程中调用
  */
  "onSearchChange":function(evevt:Object){
    var queryTerm = evevt.nativeEvent.text.toLowerCase();
    //  取得输入的内容

    var queryUrl = baseURI + encodeURIComponent(queryTerm);
    //  拼接查询地址

    fetch(queryUrl)
      .then((response) => response.json())
      .then((responseData) => {
        if(responseData.items){
          this.setState({
            "dataSource":this.state.dataSource.cloneWithRows(responseData.items)
          });
          //  把ajax结果中的items放到dataSource中
        }
      })
      .done();
      //    调用fetch方法,进行ajax请求,处理结果集

      });
  },

  /**
    渲染行数据
    读取每一项下的相关数据
  */
  "renderRow":function(repo:Object){
    return (
        <View>
            <View style={styles.row}>
                <Image
                    source={{uri:repo.owner.avatar_url}}
                    style={styles.profpic}
                />
                <View style={styles.textcontainer}>
                    <Text style={styles.title}>{repo.name}</Text>
                    <Text style={styles.subtitle}>{repo.owner.login}</Text>
                </View>
            </View>
            <View style={styles.cellBorder} />
        </View>
    );
  }
});

/**
  样式相关规则
*/
var styles = StyleSheet.create({
    "container":{
        "flex":1,
        "backgroundColor":"#fff"
    },
    "searchBarInput":{
        "marginTop":30,
        "padding":5,
        "fontSize":15,
        "height":30,
        "backgroundColor":"#eaeaea"
    },
    "row":{
        "alignItems":"center",
        "backgroundColor":"#fff",
        "flexDirection":"row",
        "padding":5
    },
    "cellBorder":{
        "backgroundColor":"rgba(0,0,0,0.1)",
        "height":1,
        "padding":5
    },
    "profpic":{
        "width":50,
        "height":50
    },
    "title":{
        "fontSize":20,
        "marginBottom":8,
        "fontWeight":"bold"
    },
    "textcontainer":{
        "paddingLeft":10
    },
    "blanktext":{
        "padding":10,
        "fontSize":20
    }
});

AppRegistry.registerComponent("githubFinder",()=>githubFinder);
//  通过AppRegistry.registerComponent来注册一个组件
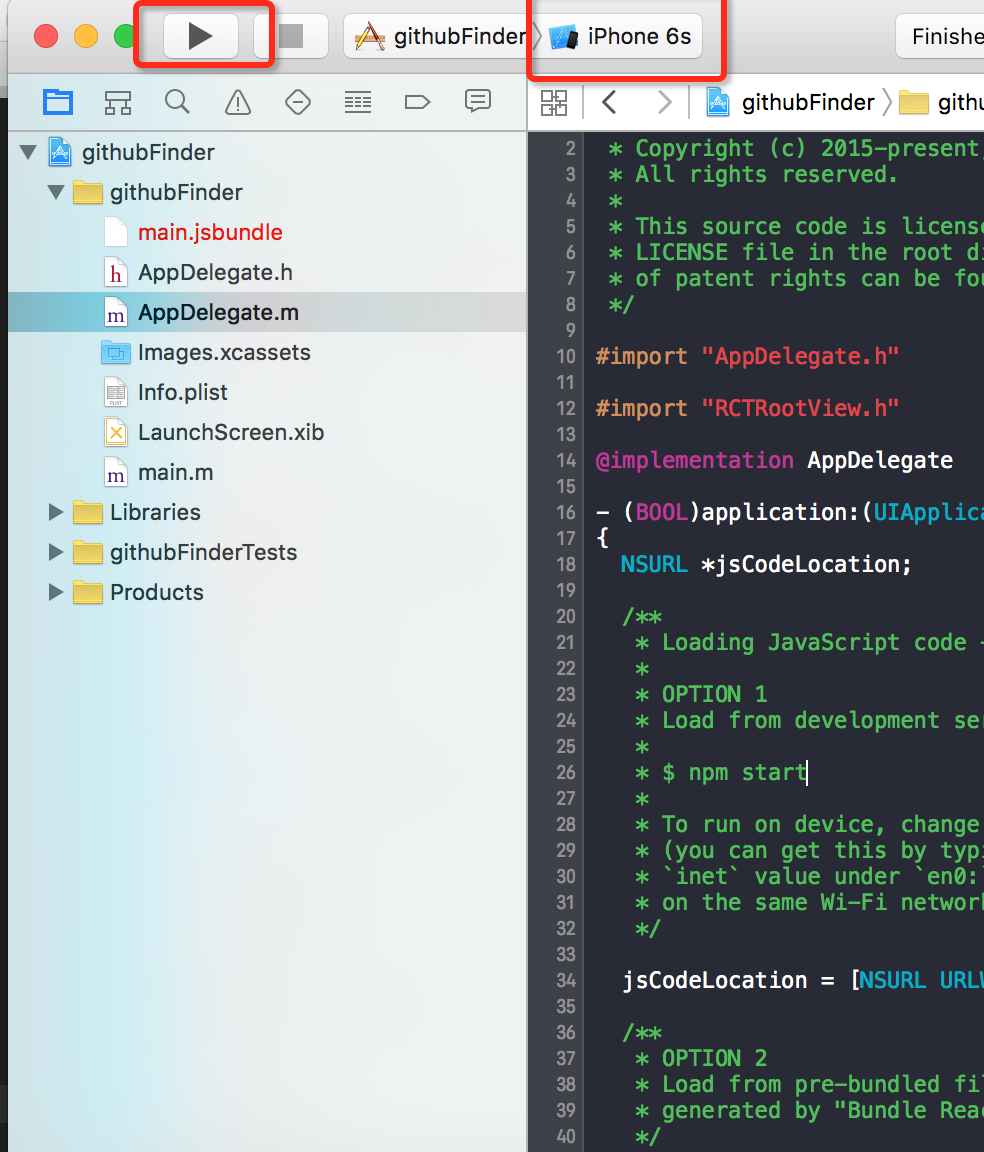
然后在Xcode中选择设备设备后运行,如下图所示:
选择设备并且运行:
没有输入搜索关键字的:

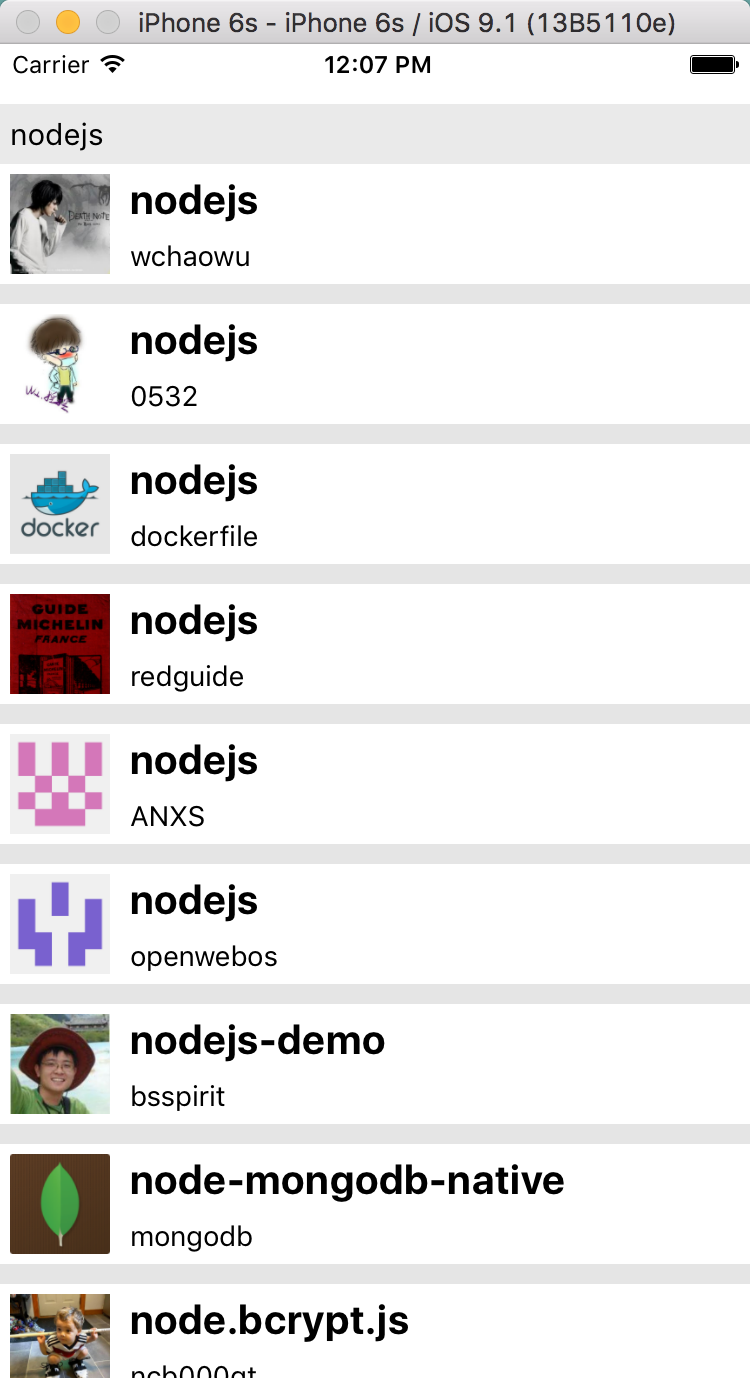
输入完搜索关键字并且搜索完成:
最后分享一个调试技巧:网上很多地方说用一个叫"react devtools"的chrome插件来调试程序,但是chrome应用商店在不翻墙的情况下是上不了的,我们也可以在safri上进行调试,选择develop -> simulator下面的一些选择就可以进行调试。